If you have not read the first part where I go through the first two steps on how a route setting idea comes to life you should click HERE, before you read on.
The two first steps were about the creative process of imagining the idea and shaping it into something that fits what you need to set. When the idea is ready then the two last steps can begin: Setting it and testing it!
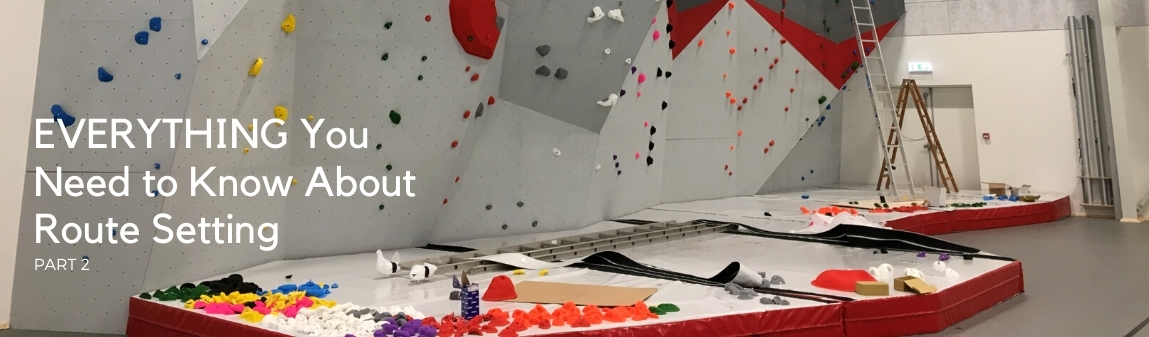
Step 3: Setting it - The build!
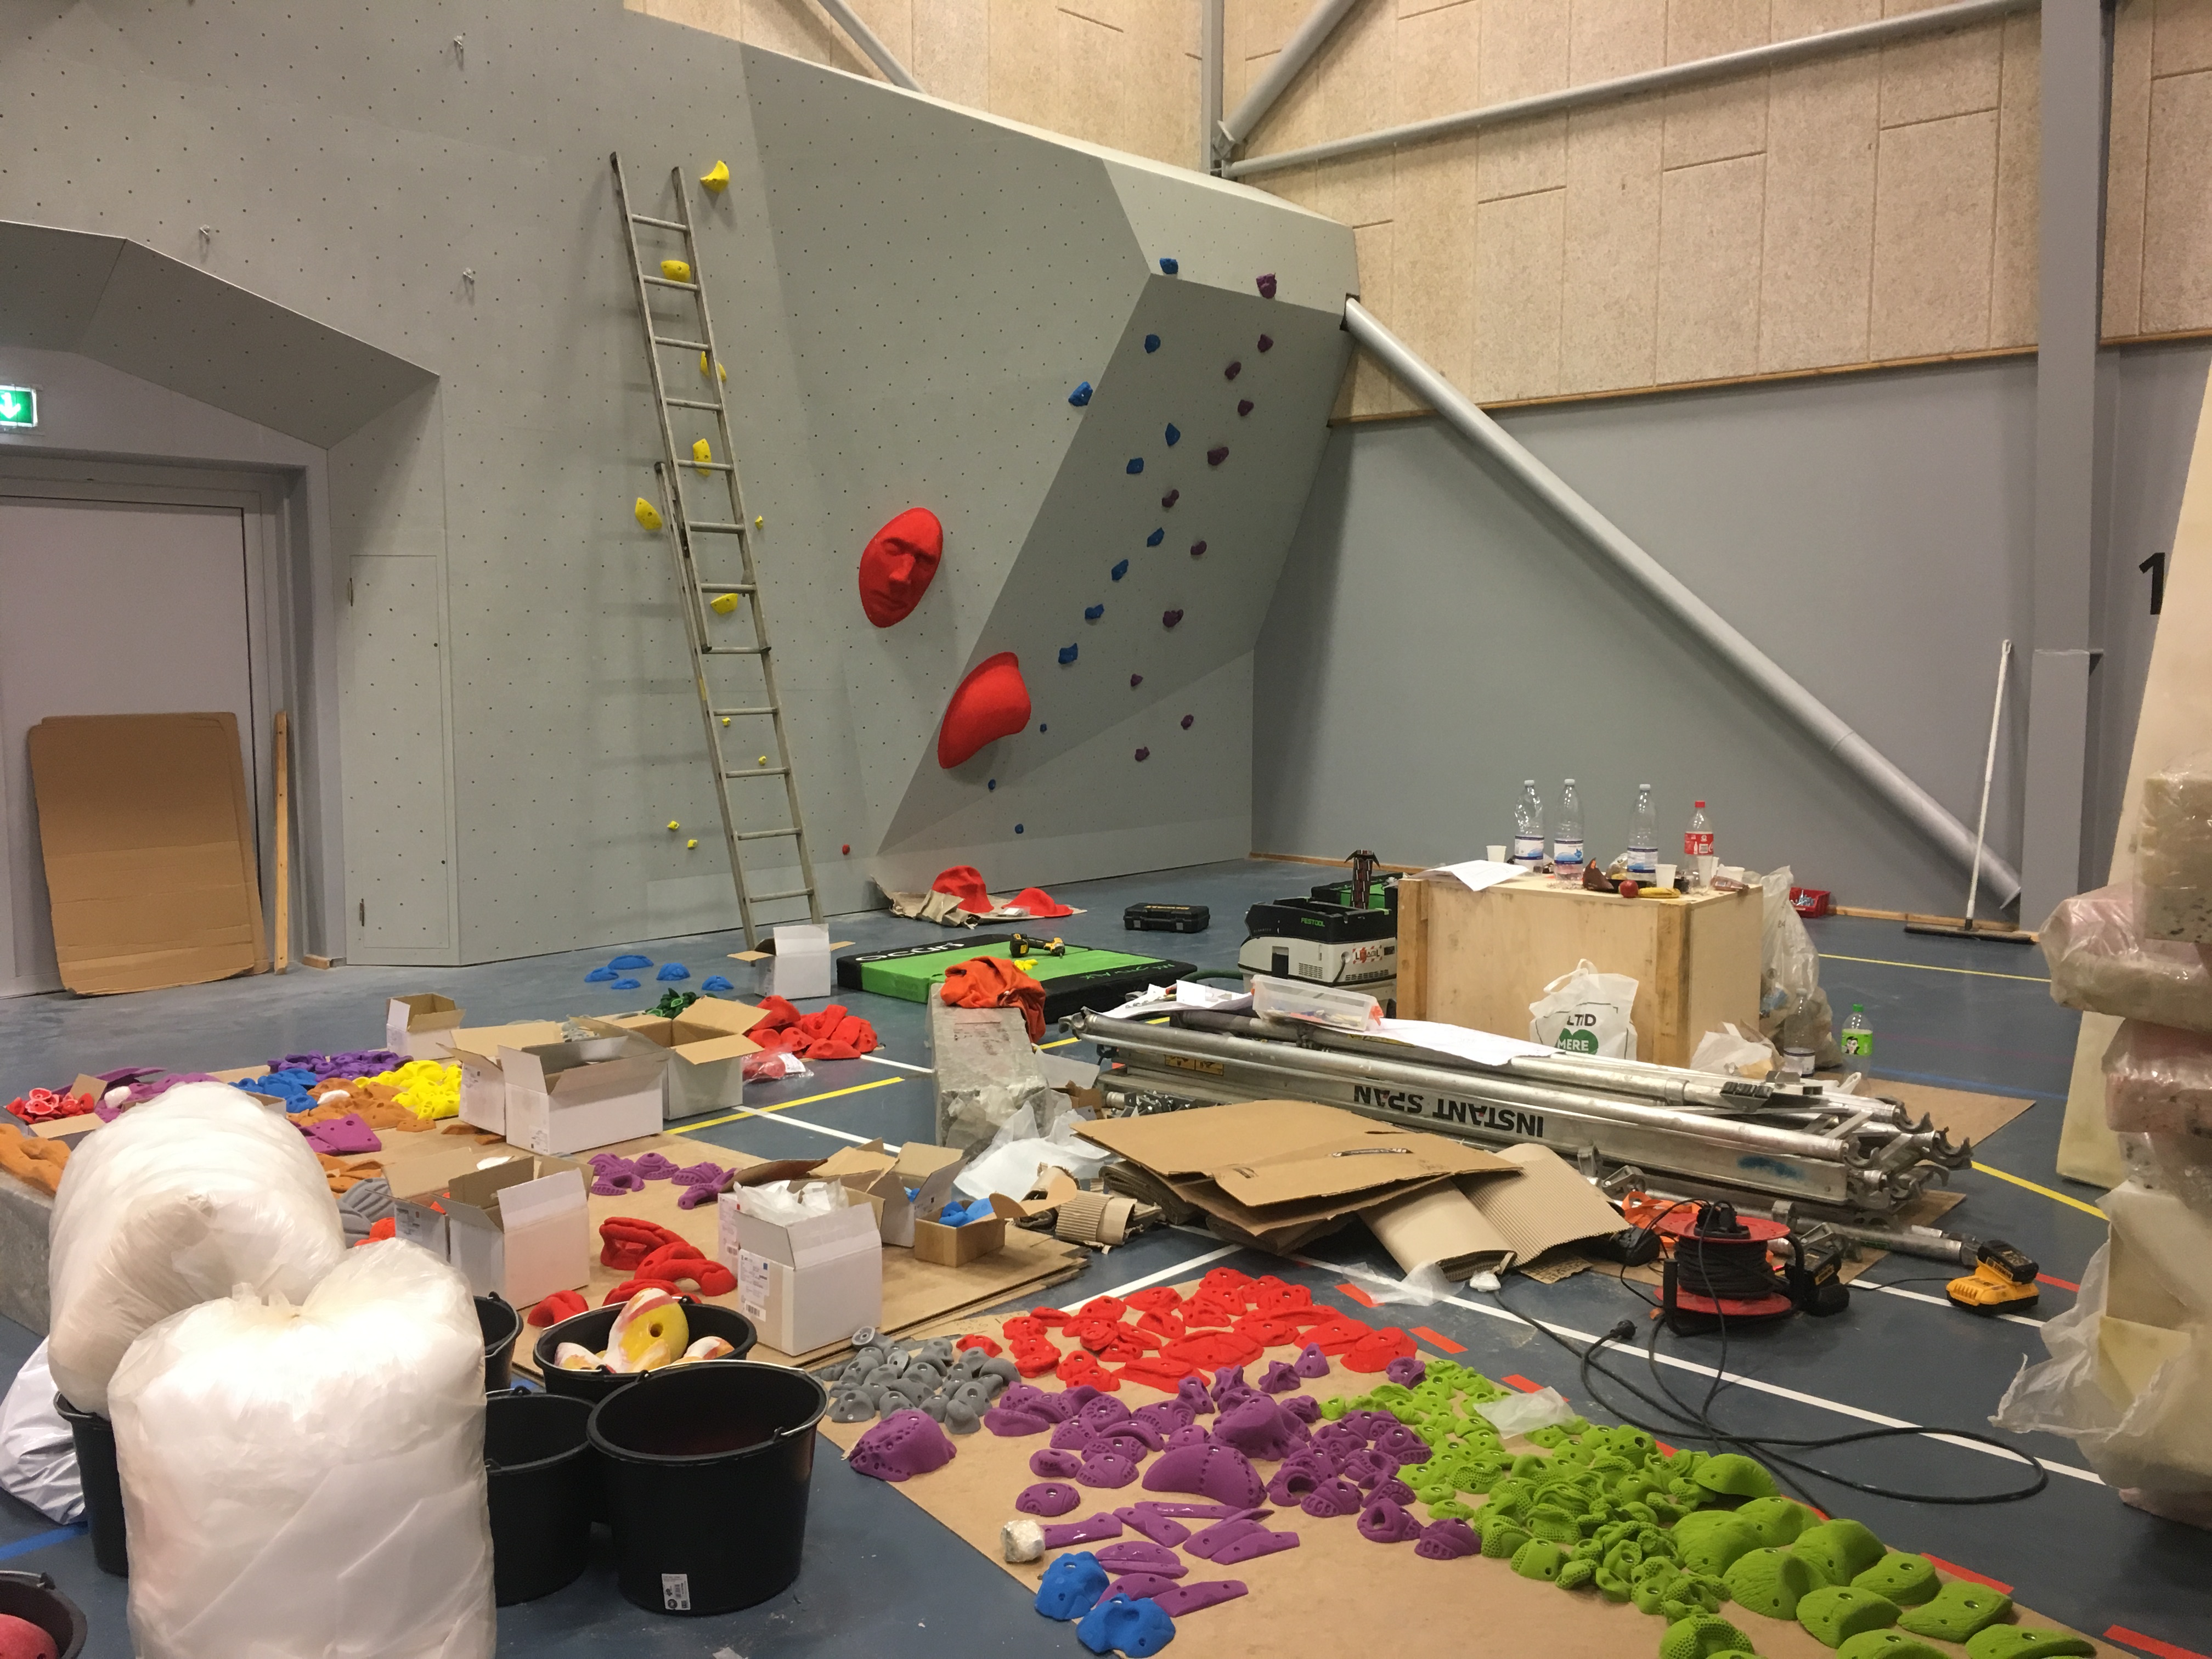
When your idea is ready, you have a clean canvas (like a painter with a... well... clean canvas), you have found the holds to use and you have prepared all the tools – then you are ready!
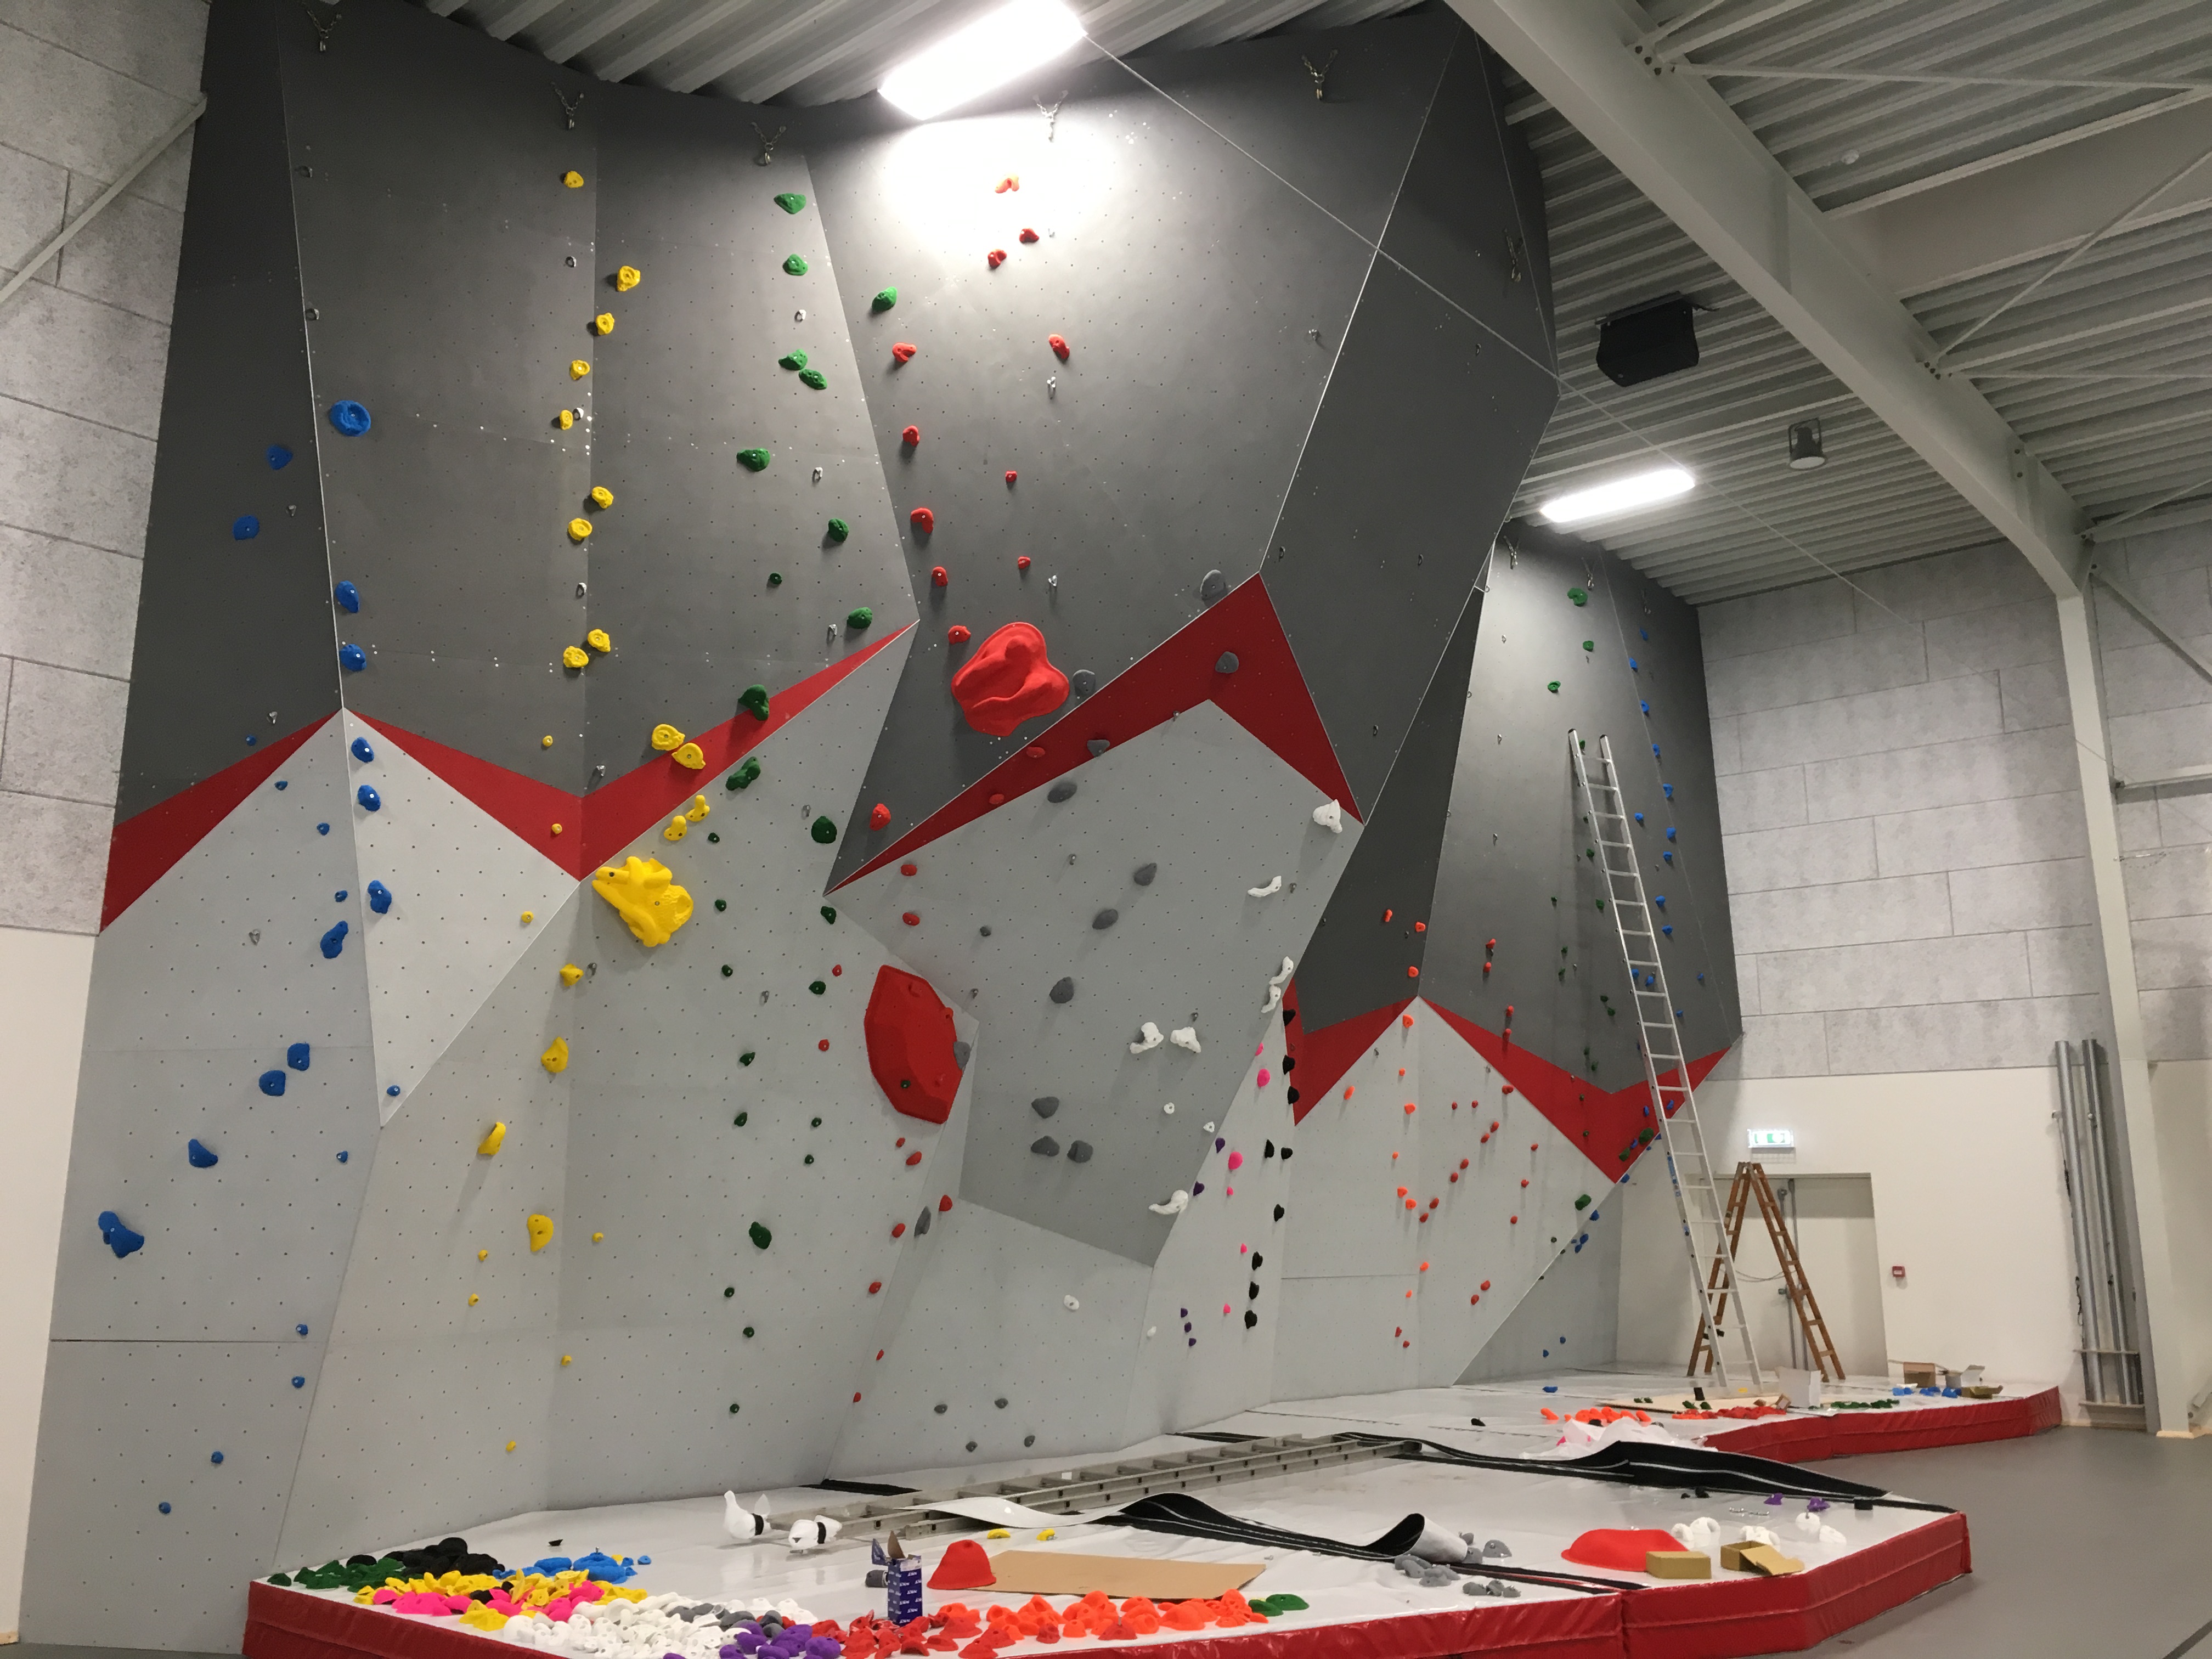
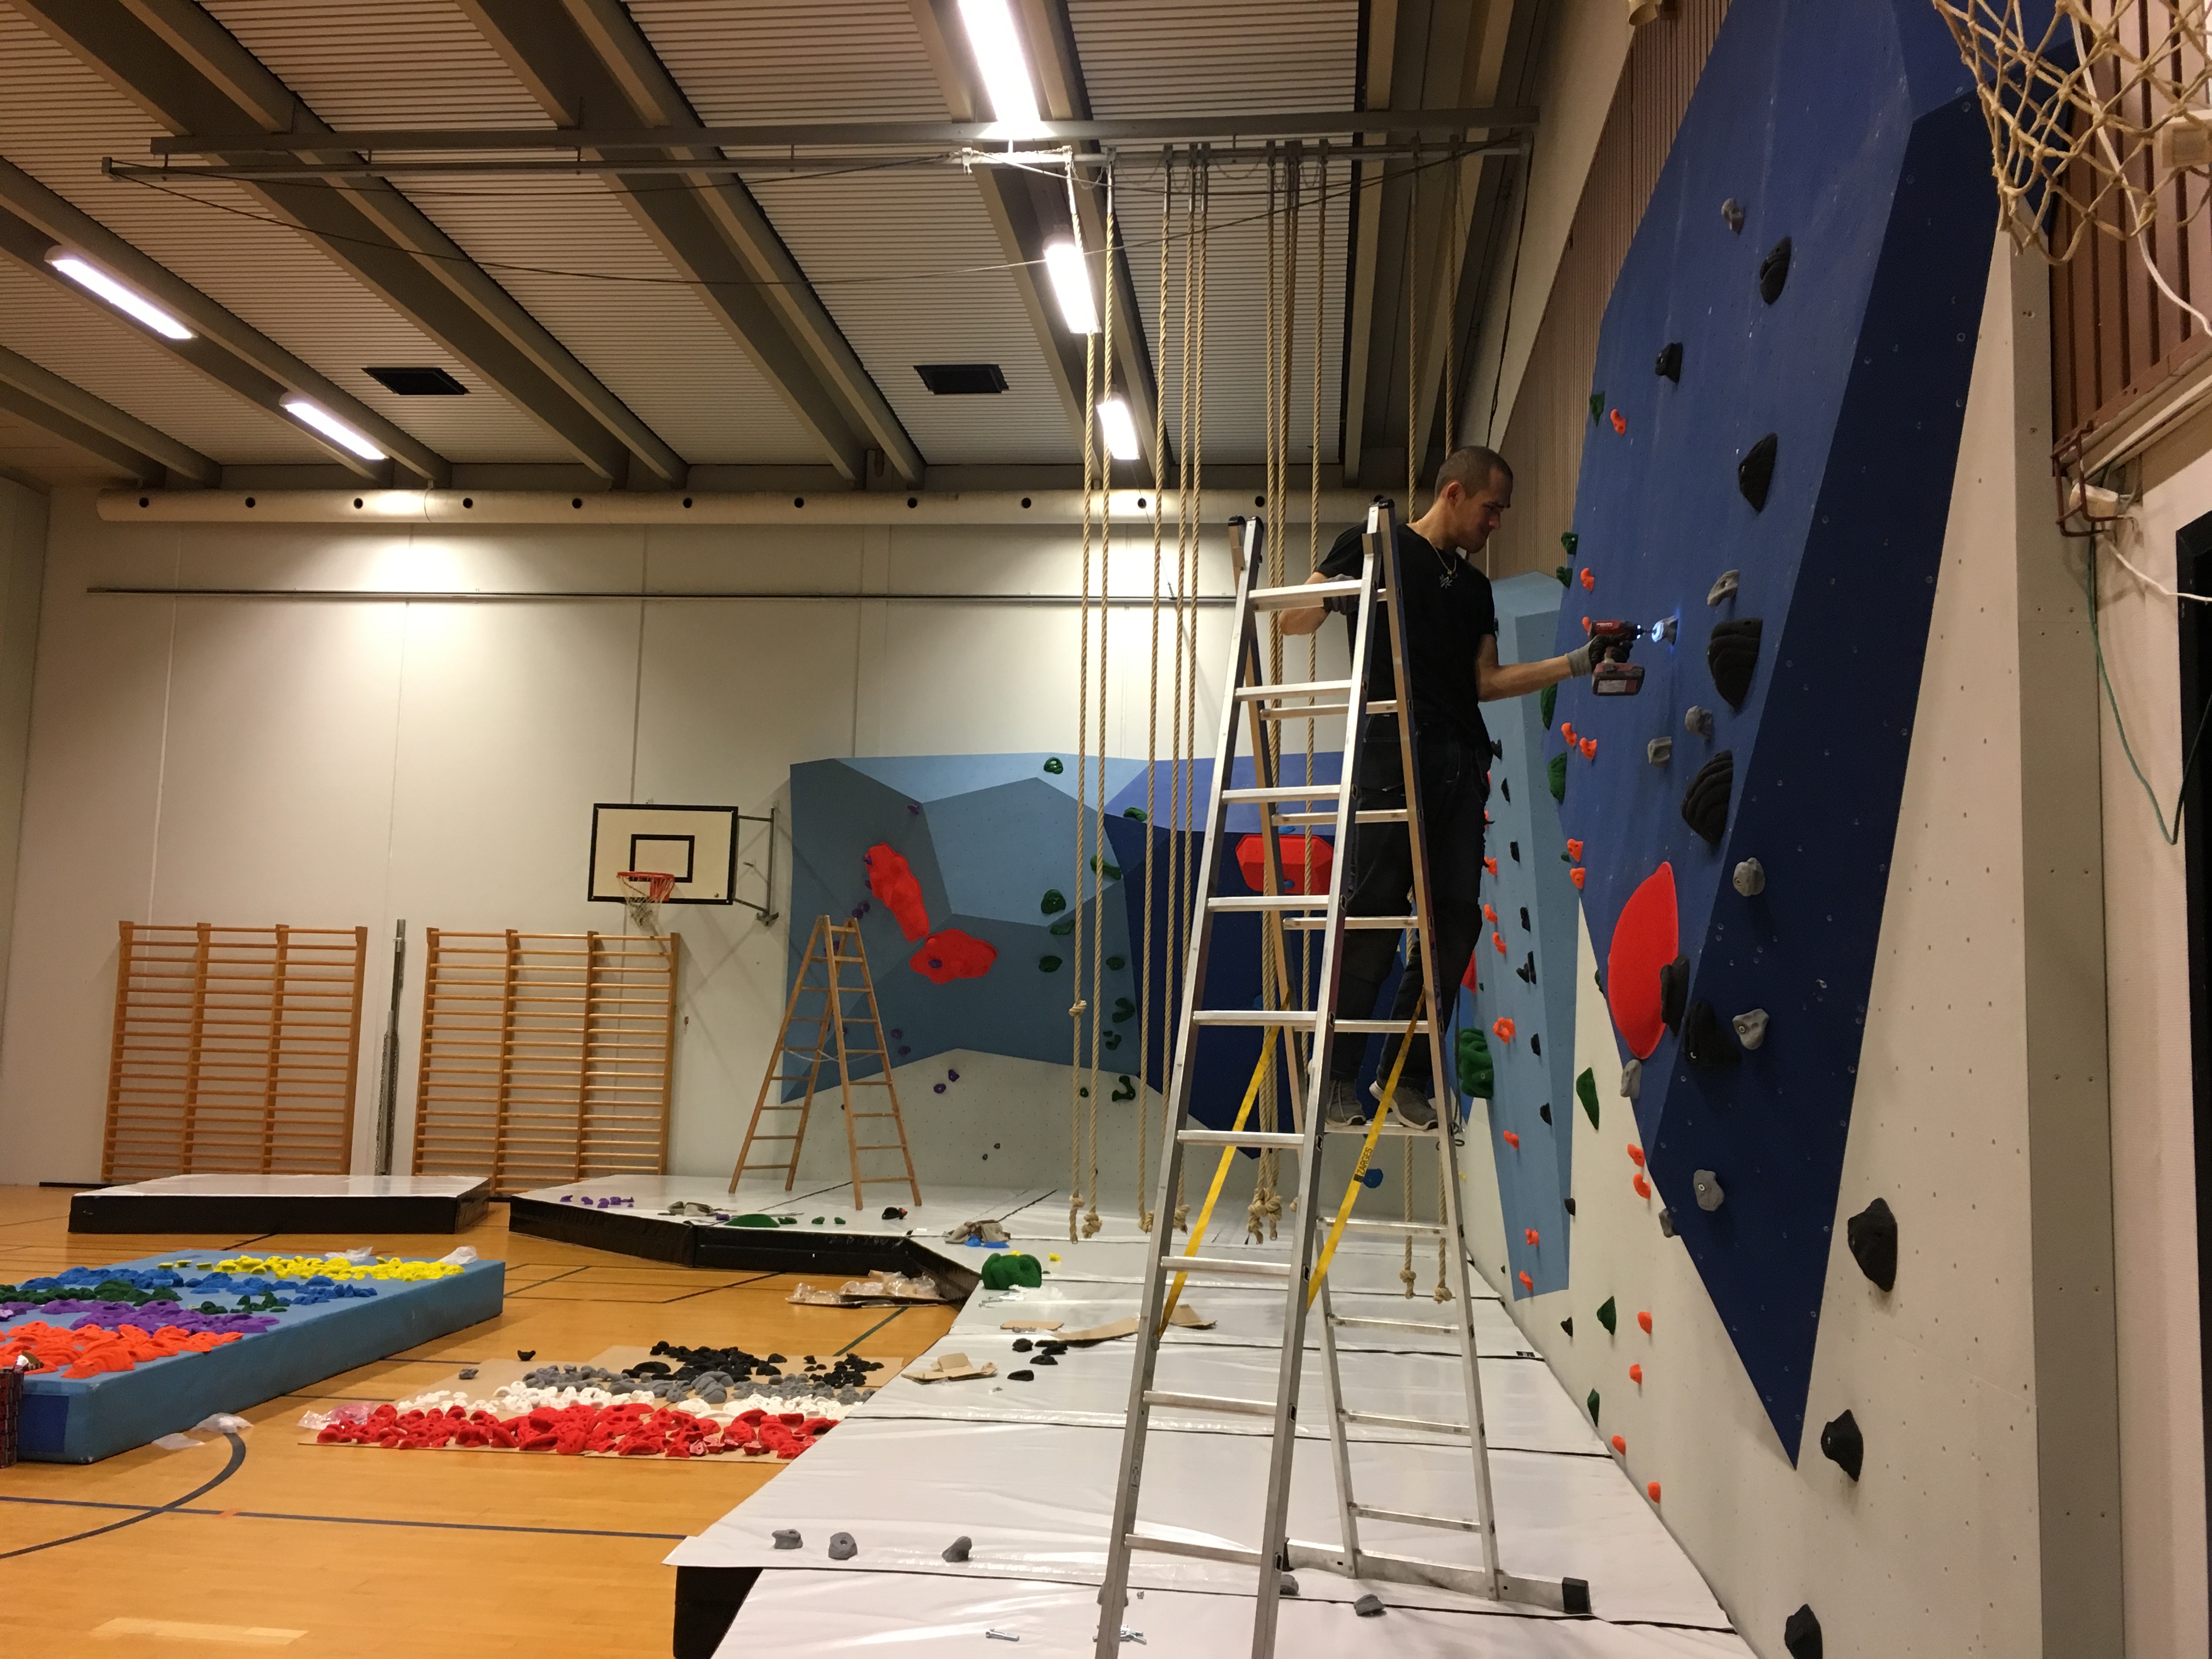
The idea is the reshaped version of your initial idea. The clean canvas is a must before you set something. If it is a newly build wall, it is all ready to go, but if it is in a commercial gym and routes was there before, the walls need to be stripped down (holds removed) and often in the same process the holds should be cleaned (e.g. water pressure). Then the wall is ready for new routes.
The holds to use for the upcoming route are picked and placed in front of the wall where you will be setting. Sometimes if you have an extremely specific idea, you can bring out the exact holds to use, but often you bring a small arrange of holds, that you know will work together and can encompass your idea.
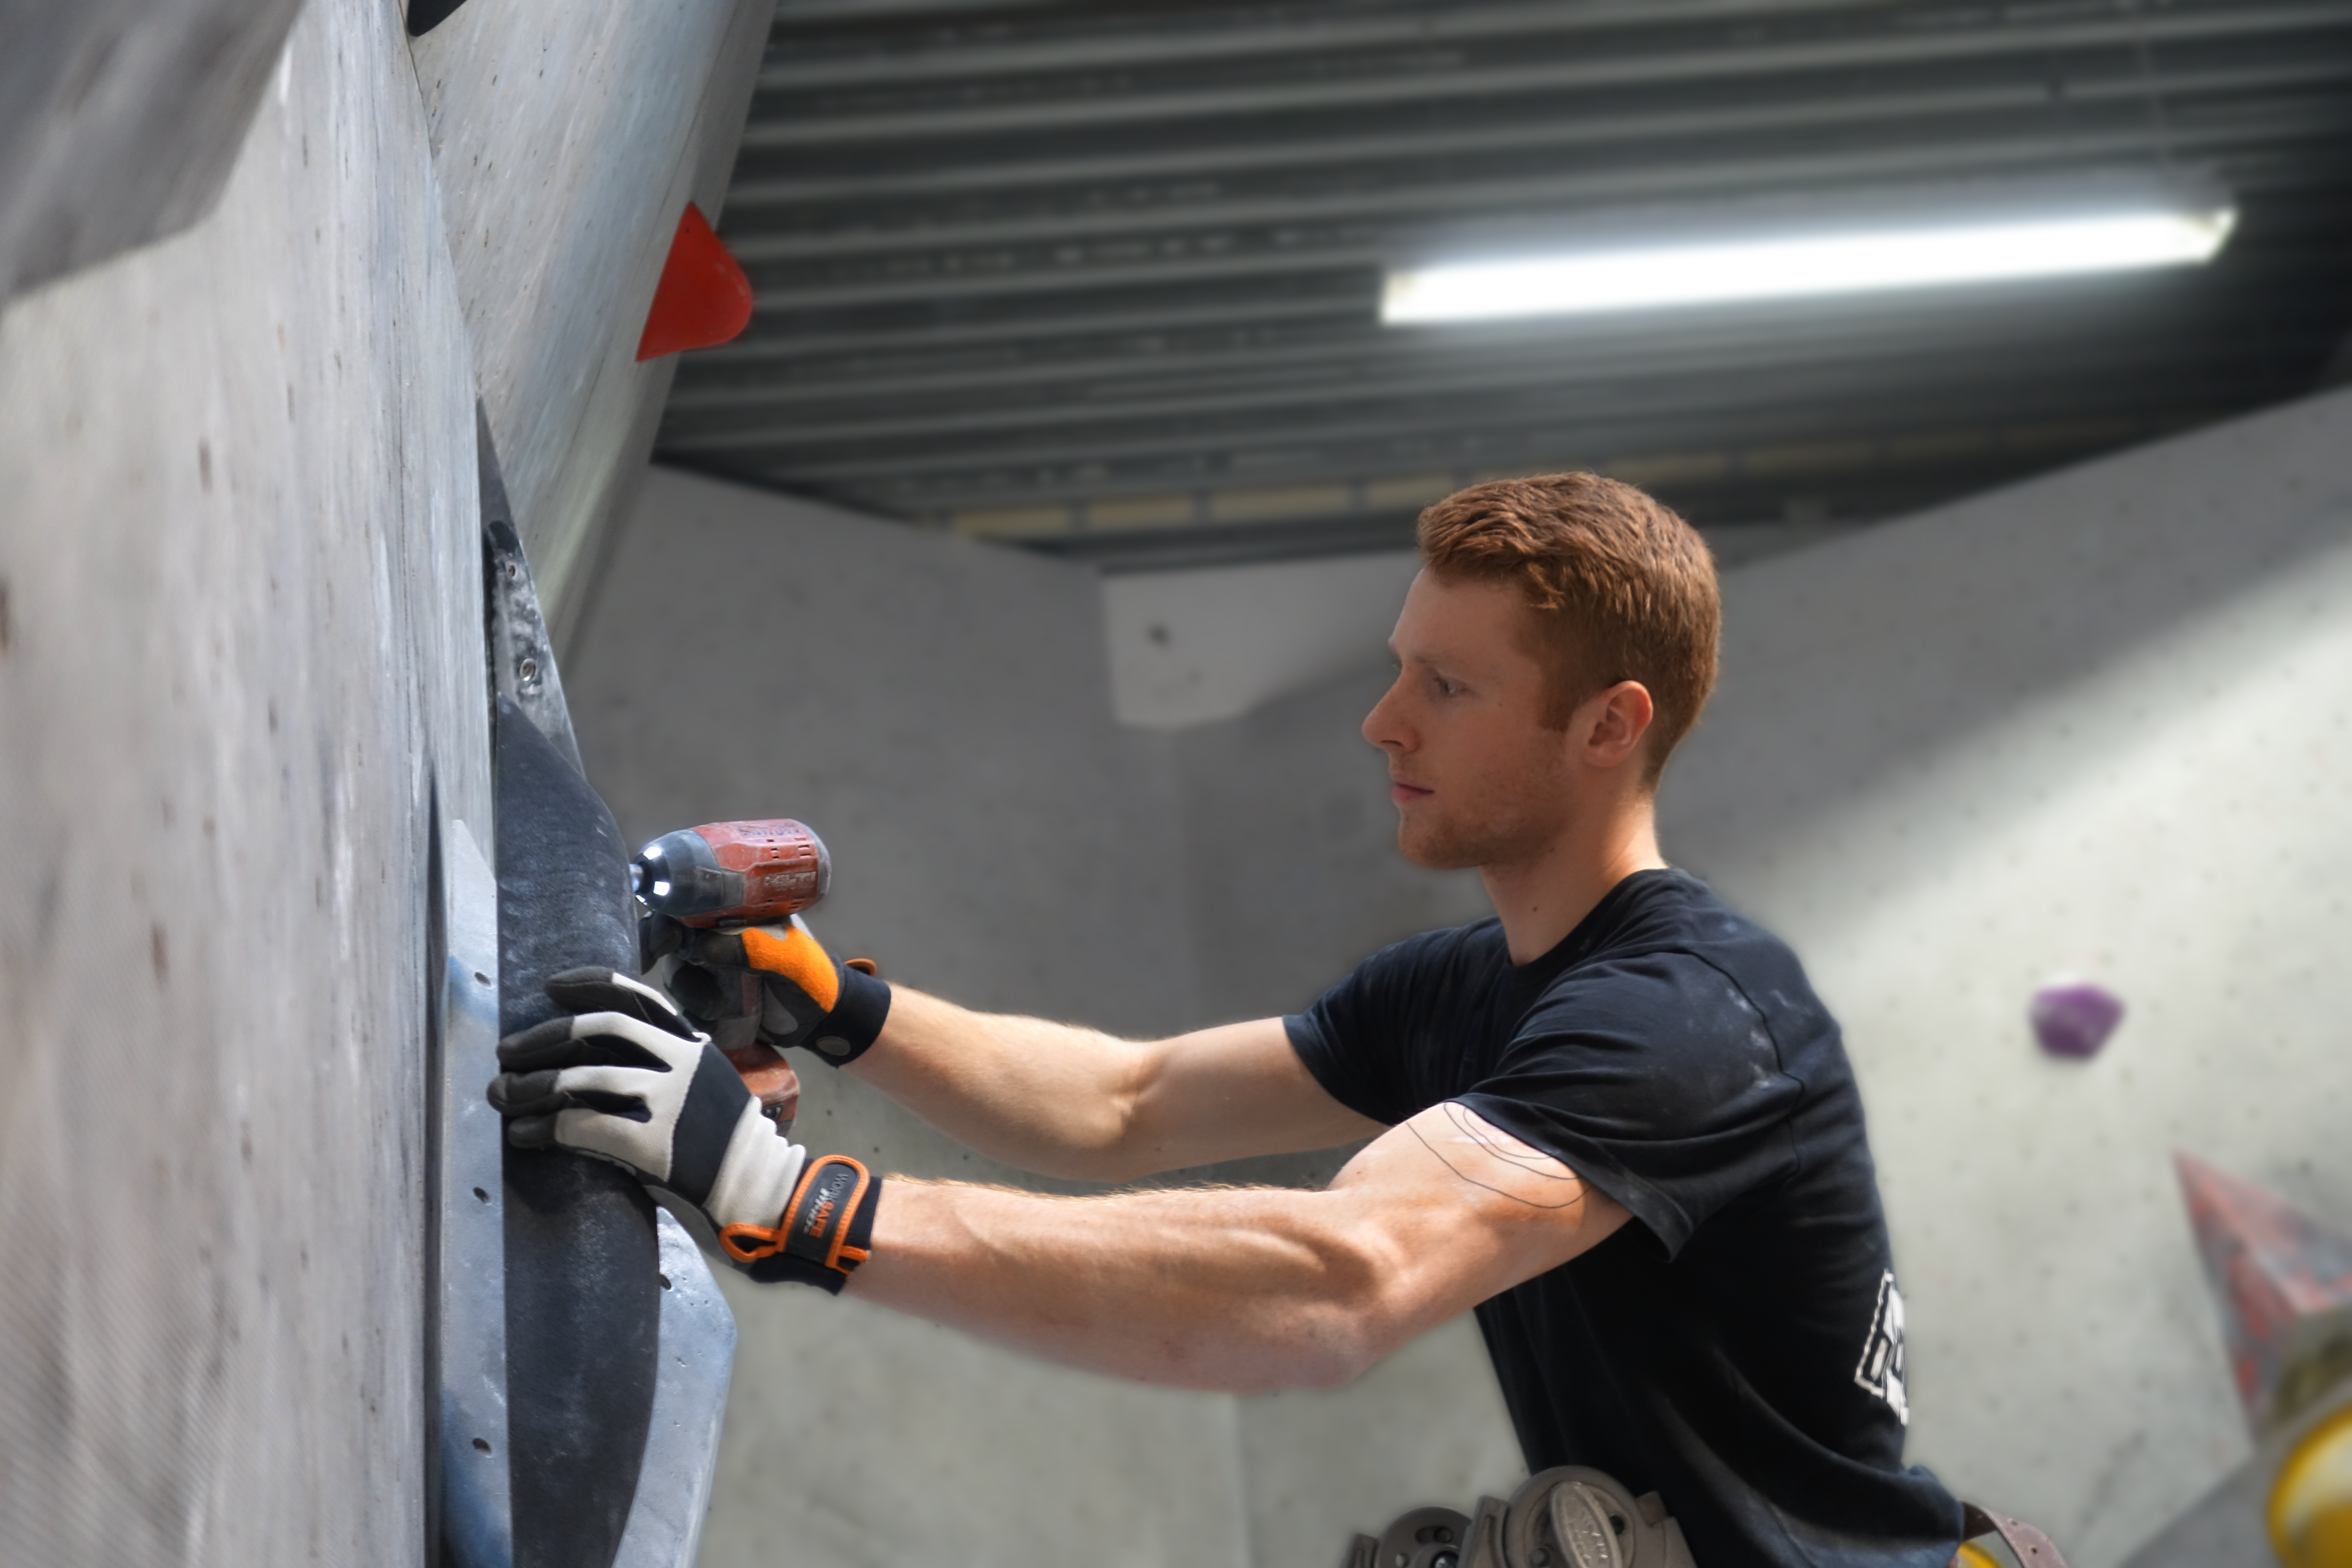
The process of having the holds in front of you on the mat and putting them on the wall can vary from setter to setter and depends on preference. If you are new to setting this process might take a while and a lot of thinking is required each time one hold is placed on the wall. The more experience one have the easier it is to quickly get your idea from the mat to the wall – this is the first draft of the route.
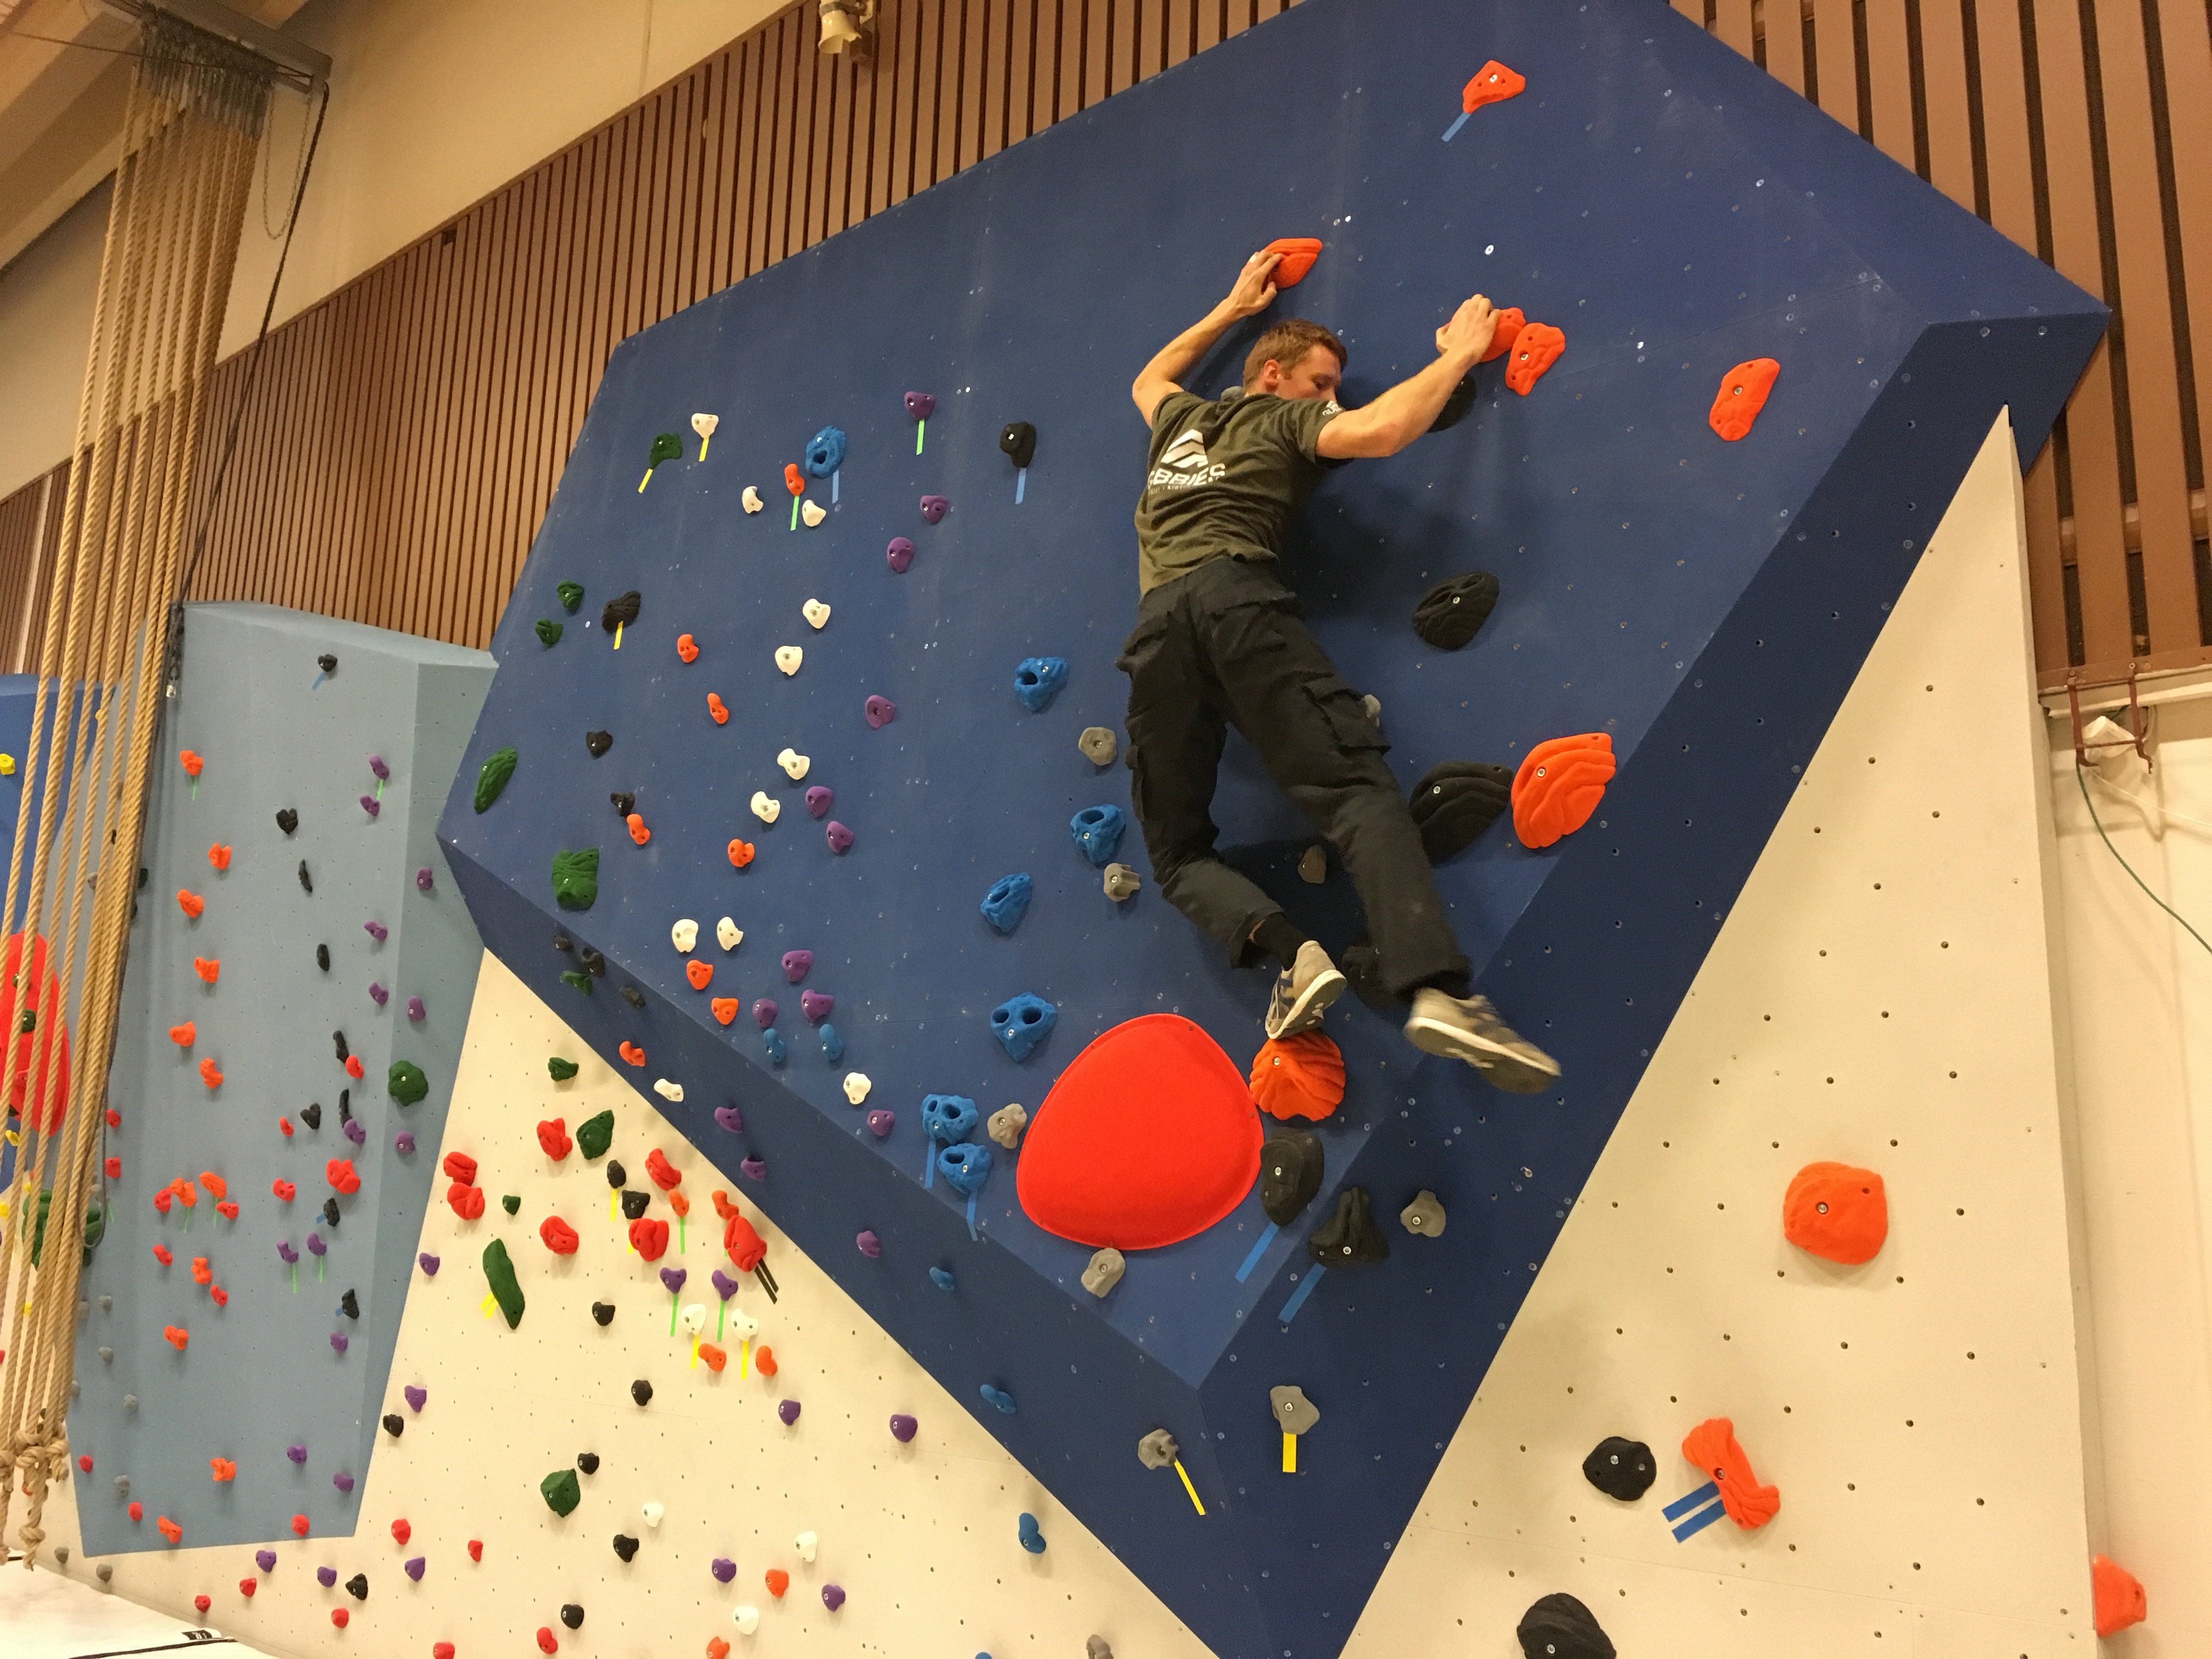
As a setter you often want to set something with aesthetic features. You want to set something that looks good on the wall and you want this for a number of reasons. A route that is climbable but where to holds have been scattered in a semi-random order on the wall is not very enjoyable – especially not for the eye. It looks extremely chaotic, ugly and non-inviting. You want to set something that invites the climbers at the gym to climb it. In the end you want as many climbers to enjoy your routes as possible.
Another aspect, which has not been studied or examined, and therefore is just a very personal aspect of the aesthetic properties of a route for me, is that I believe the aesthetics might influence the way the climb feels when you climb it. I believe that if you don’t think the route is inviting, that it looks ugly or that it seems like there has not been put any time into it, there would be a lower chance of you actually liking it when you have climbed it. But on the other hand – if it looks beautiful, very inviting, looks like a lot of time and thought have been put into it, you already have a positive mind-set before climbing it, and that affects how the climb feels in the end.
Physical attractiveness
Studies related to something similar but not the same have examined how the very first seconds you are presented with something has a very high effect on the decision you make of that something in the end. For example a study by Ambady, N., & Rosenthal, R. (1993) found that nonverbal behaviour and physical attractiveness within the first thirty seconds of meeting a new teacher, predicted and was strongly related to the global end-of-semester student evaluations of that teacher. Even though this is completely different from the aesthetics of a route, I believe it shows just how quickly we make up our minds and how aesthetics (physical attractiveness) influence our decisions.
Step 4: Testing it
This step can both be very fun and very tough! Sometimes it is purely fun and sometimes purely tough, but often a good mix and also very dependent on the team.
Testing starts when everyone has put up the drafts of the routes (This may be three or four drafts each). Testing them means climbing them. You start from the easiest route and then working your way up, to the hardest. Often when testing, everyone climbs the route and comments on it. The comments could be about how the climb felt, was it fun or not fun, a move that was too far, a move that was too dangerous, if something could easily be changed, if it was too hard or too easy for the grade and so much more depending on how the route is and who comments on it. When you have commented on all the routes you take your climbing shoes off and put back on your hearing protection and tool belt and start resetting the routes. Implementing everything that you as a team commented and agreed on. If you made the draft you make the changes.
After each time there has been made changes to a route it should be tested again. Then the goal is to “close” down some routes, deciding it is done. Then that route will not be made changes to and therefor not tested. You keep repeating the setting and testing part till everything is done.
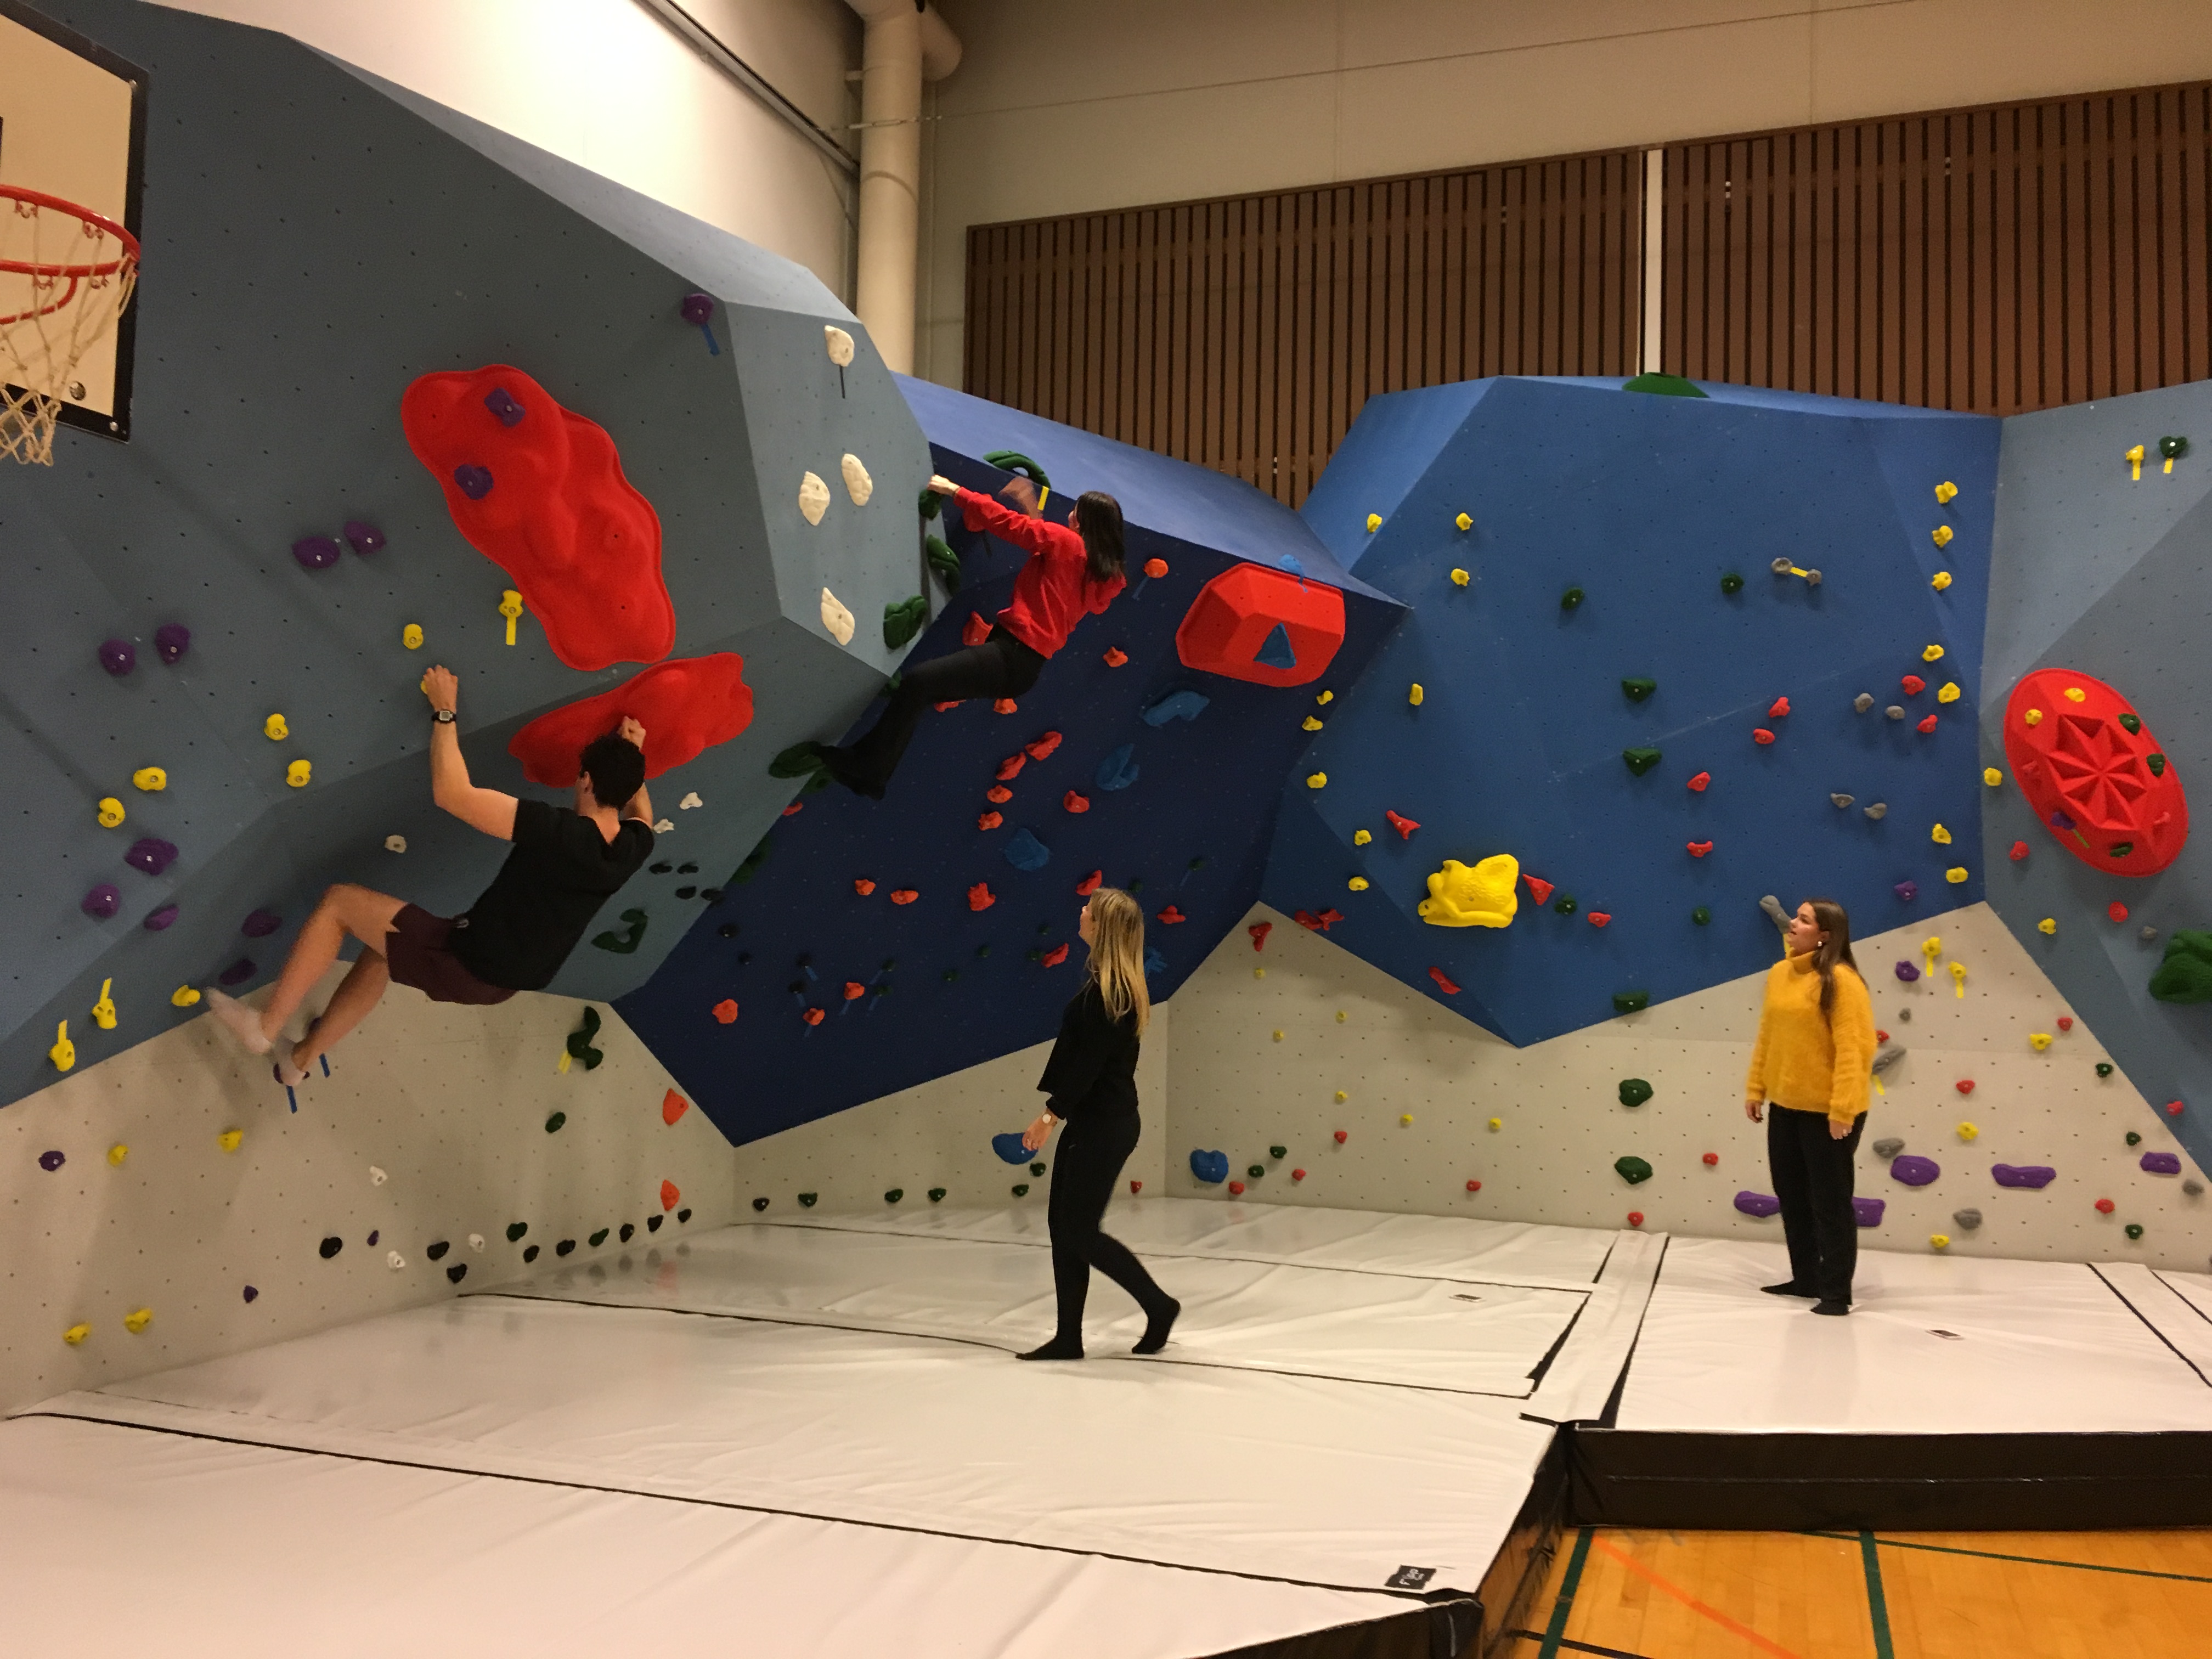
Throughout all the steps the most important thing to remember is the crowd. What do they like, what level are they on and what do they expect. In the end, what really matters is: do the people enjoy climbing at the place you set! So always remember who the climbers are and how you can make them happy.
Meet the author: Daniel
___________________________Daniel is a Boulderer. An experienced Routesetter. He have built several climbing walls. Worked with climbing in various different ways. Have recently been to Kjugekull, Rocklands and Fontainebleau. Plan on going to either Västervik or Magic Woods soon. Always smiles. An ape-index of positive ten. Loves climbing.